
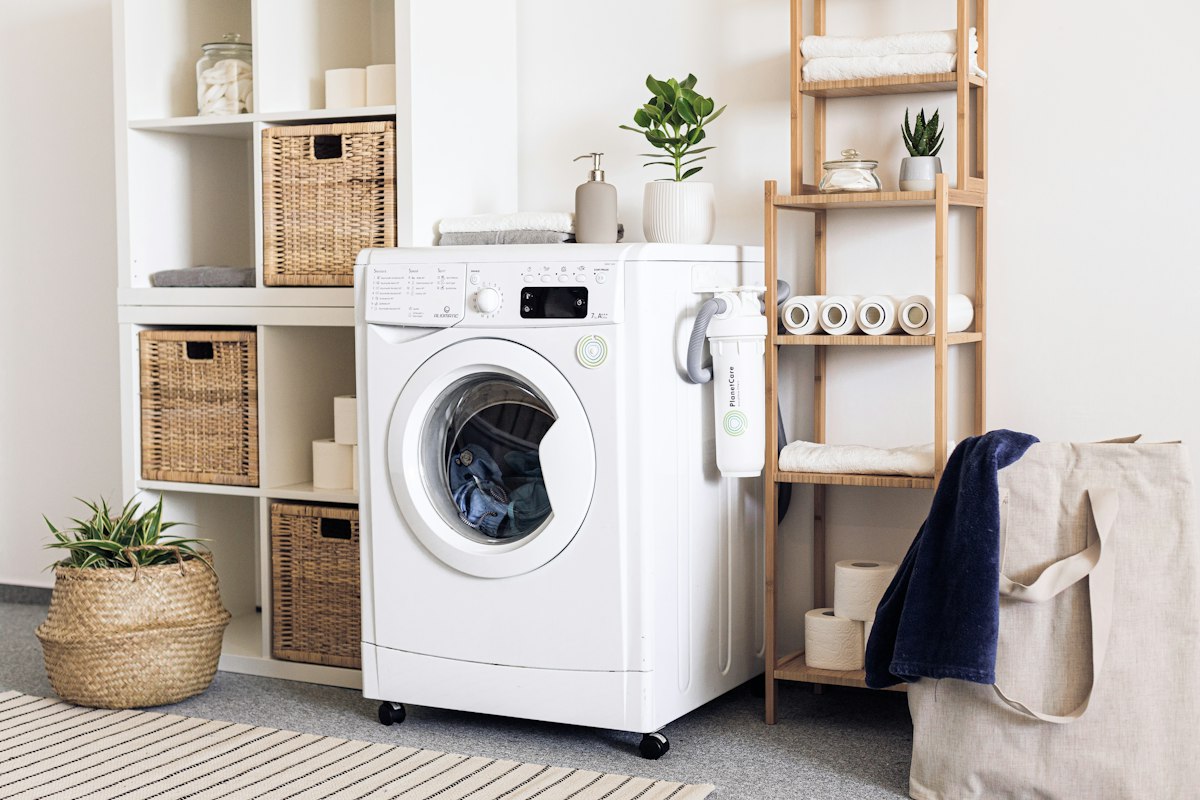
If your washing machine sounds like it's trying to escape during the spin cycle, you're dealing with an unlevel machine. This isn't just a noise problem—an unlevel washer wears out suspension springs faster, strains the drum bearings, and can crack your floor tiles. The good news is that leveling a washing machine is one of those 30-minute fixes that saves you hundreds in future repairs.
Why Leveling Your Washer Matters in San Antonio
Between the clay-heavy soil foundation shifts common in our area and the concrete slab settling that happens in Texas heat, San Antonio floors aren't always perfectly level. When your washer sits on an uneven surface, every spin cycle turns into a mechanical stress test. The drum rotates unevenly, the internal components work harder, and that walking-across-the-floor behavior scratches your tile or vinyl flooring.
Most manufacturers void warranty claims on damaged suspension systems if they determine the machine wasn't properly leveled. That's a potential $300-500 repair bill you can avoid with a simple adjustment.
Tools You'll Need
Gather these items before you start:
- A standard bubble level (the longer, the better—18 inches is ideal)
- An adjustable wrench or pliers
- A piece of cardboard or towel to protect your floor
- A helper if your machine is particularly heavy
The Step-by-Step Leveling Process
Start by unplugging your washing machine and turning off the water supply valves. Pull the machine away from the wall enough to access all four feet—usually about two feet of clearance works fine.
Place your level across the top of the washer from front to back, then side to side. You're checking for level in both directions. Most washers have adjustable front feet that screw in or out, and self-leveling or adjustable rear feet.
To adjust the front feet, tip the machine back slightly (this is where a helper comes in handy) and turn the foot clockwise to raise it or counterclockwise to lower it. Some machines have a locking nut that you'll need to loosen first with your wrench. Make small adjustments—a quarter turn at a time—then check your level again.
For the back feet, most modern washers self-level once you tip the machine forward about 4-5 inches and gently set it back down. Older models may have adjustable rear feet that work the same way as the front.
The Final Check
Once all four feet touch the floor solidly and your level shows bubble-centered in both directions, tighten any locking nuts. Rock the machine gently from corner to corner—there should be zero wobble. Push down on each corner; nothing should move.
Run an empty spin cycle at the highest speed. The machine should hum along without walking or excessive vibration. A properly leveled washer will stay exactly where you put it.
If you've leveled your machine correctly and it still vibrates excessively, the issue might be worn suspension components or an aging unit. When that repair bill starts climbing past $400, it's often smarter money to invest in a new, energy-efficient model. Check out our $899 in-stock washer and refrigerator options that come with proper installation and leveling included—no guesswork required.